Creating Load Balancing rules
Overview
You create and manage Load Balancing rules in the Custom Rules page, which is part of the Create/Edit Load Balancer workflow in the Traffic app.
To create a Load Balancing rule in the Cloudflare dashboard, follow this workflow:
- Create a new Load Balancing rule.
- Build an expression for the rule.
- Configure an action.
- Save the rule and the load balancer configuration.
Create a new Load Balancing rule
Log in to your Cloudflare Account Home and click the site you want to manage in the dashboard.
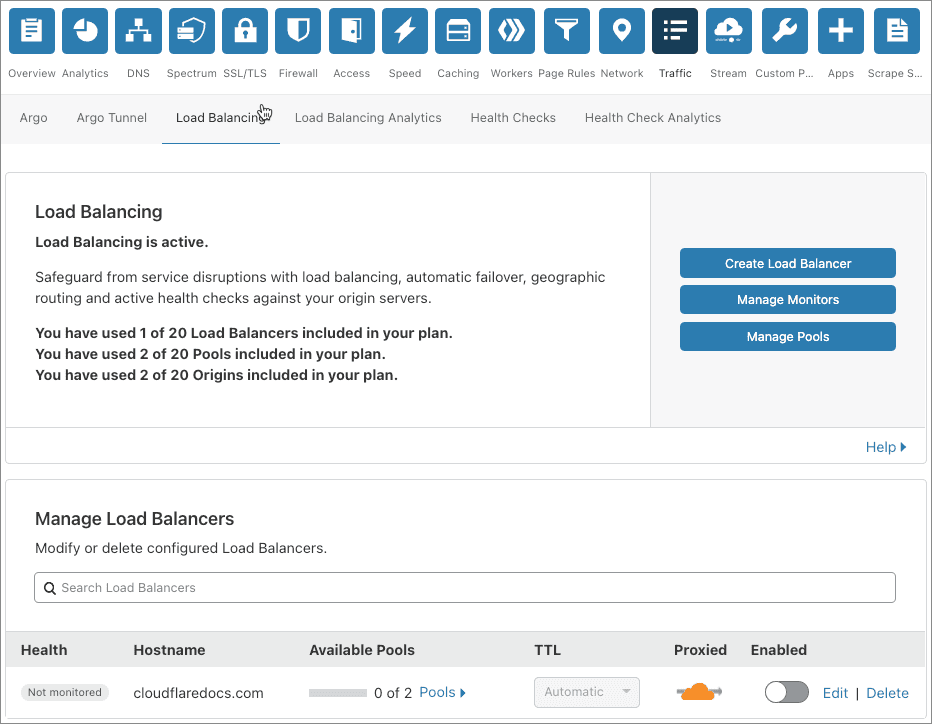
In the Cloudflare dashboard, click the Traffic app, then select the Load Balancing tab.
To add a rule to an existing load balancer, click the Edit link associated with the load balancer you want to manage:
Otherwise, click Create Load Balancer and follow the workflow in Create a load balancer in the Cloudflare dashboard.
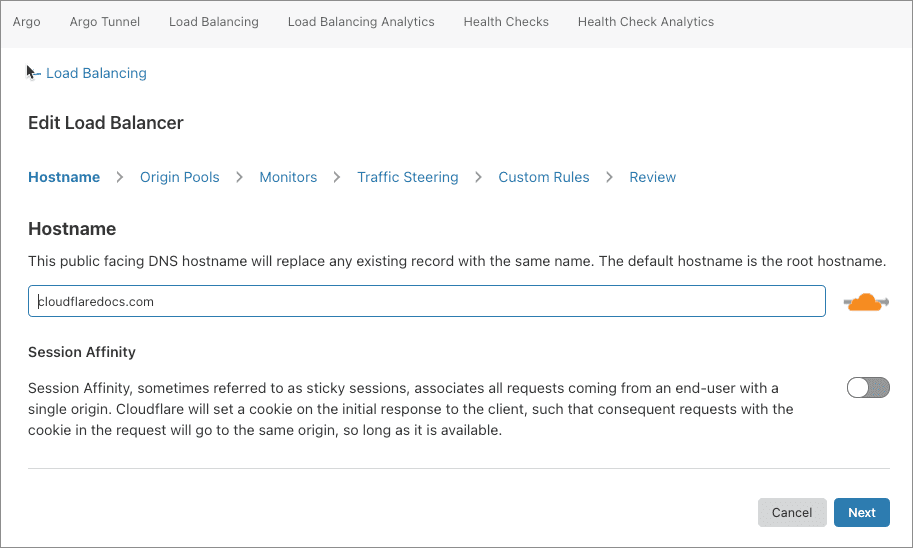
When you click Edit, the Edit Load Balancer page displays:
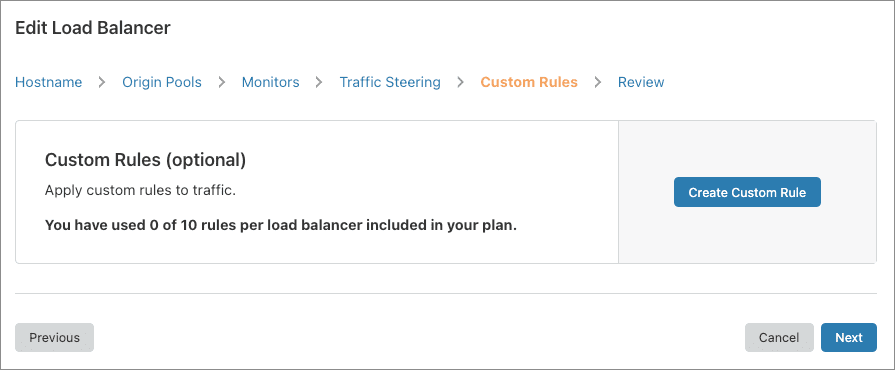
In the breadcrumb links for the Edit Load Balancer workflow, click Custom Rules.
Click Create Custom Rule.
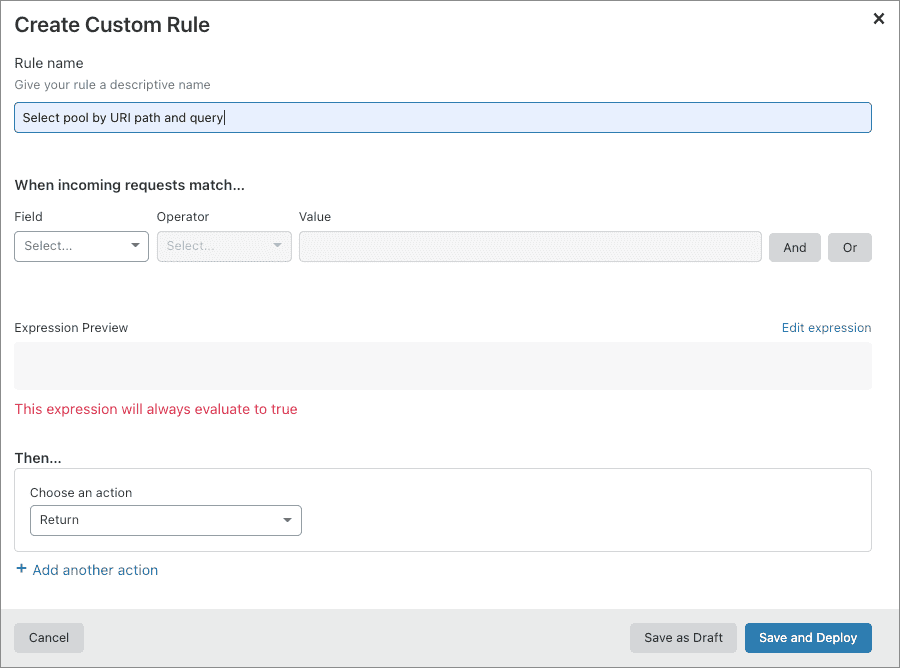
In the Create Custom Rule dialog that displays, use the Rule name input to supply a descriptive name. This example uses "Select pool by URI path and query."
Now that you have created a rule and named it, continue to the next section and build a Load Balancing expression that defines when to trigger your rule.
Build a Load Balancing expression
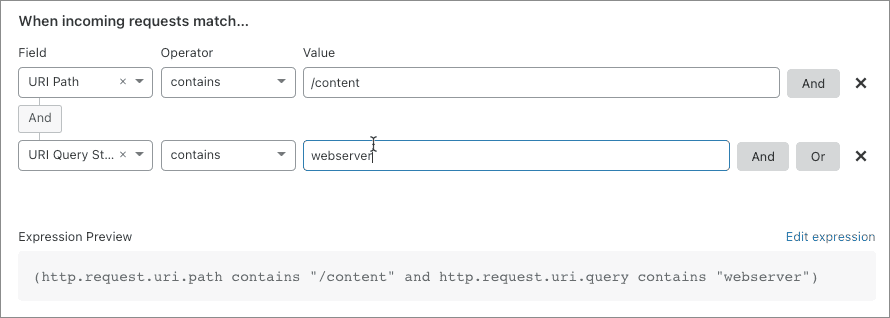
In the Expression builder in the Create Custom Rule dialog, under When incoming requests match…, use the Field drop-down list to choose an HTTP property. This example uses URI path. For more, see Supported fields and operators.
To select a comparison operator, use the Operator drop-down list. This example uses the
containsoperator.Enter the value to match. When the field represents an enumeration, the Value control will be a drop-down list. Otherwise, it will be a text input. This example matches requests where the URI path contains
/content:[Optional] To create a compound expression using logical operators, click the And or Or button.
A new expression displays. Edit the expression. This example uses the
andoperator and adds the requirement that the URI query string containwebserver:Edit the expression as desired.
Now that you have built an expression, continue to the next section and configure a Load Balancing action for the rule.
Configure a Load Balancing action
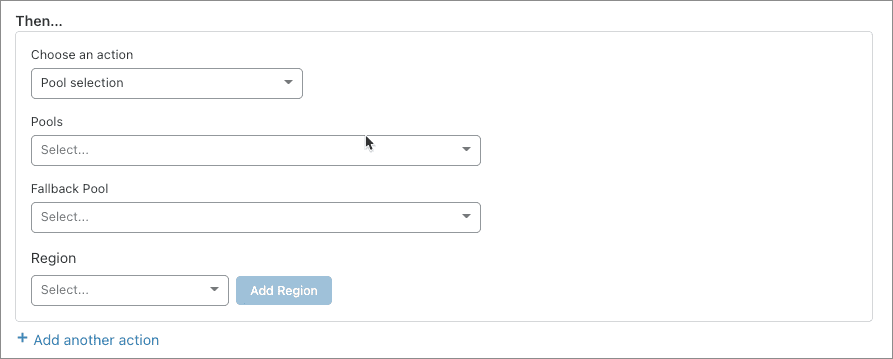
To set an action for a rule, use the Action drop-down list. This example selects the Pool selection action:
The configuration options for the selected action display:
[Optional] Click Add another action.
Now that you have configured a Load Balancing action, continue to the next section and save the Load Balancing rule and configuration.
Save a Load Balancing rule and configuration
In the Create Custom Rule dialog, click Deploy. If you are not ready to deploy the rule, click Save as draft.
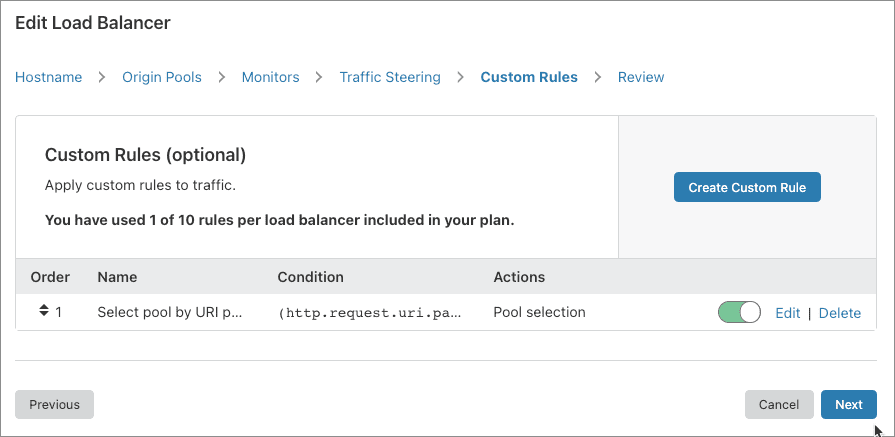
The Custom Rules card displays, and the new rule is listed:
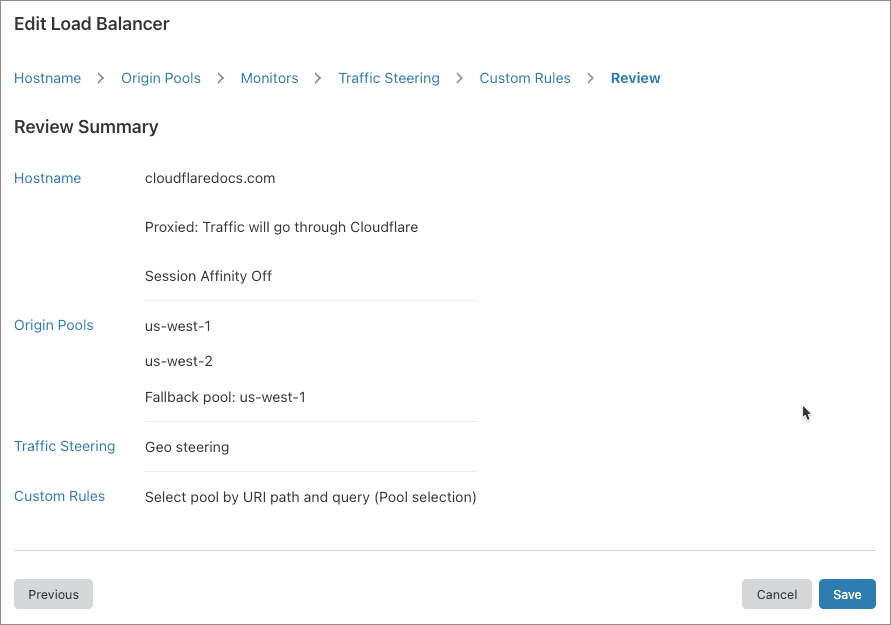
Click Next and review your changes:
Click Save.
When the operation is complete, the Load Balancing page displays.
